Agentic UI Testing with browser-harness: A Working Setup, Start to Finish
Install browser-harness, connect it to your real Chrome, and get a coding agent to run UI checks that come back with screenshots and DOM evidence instead of vibes.
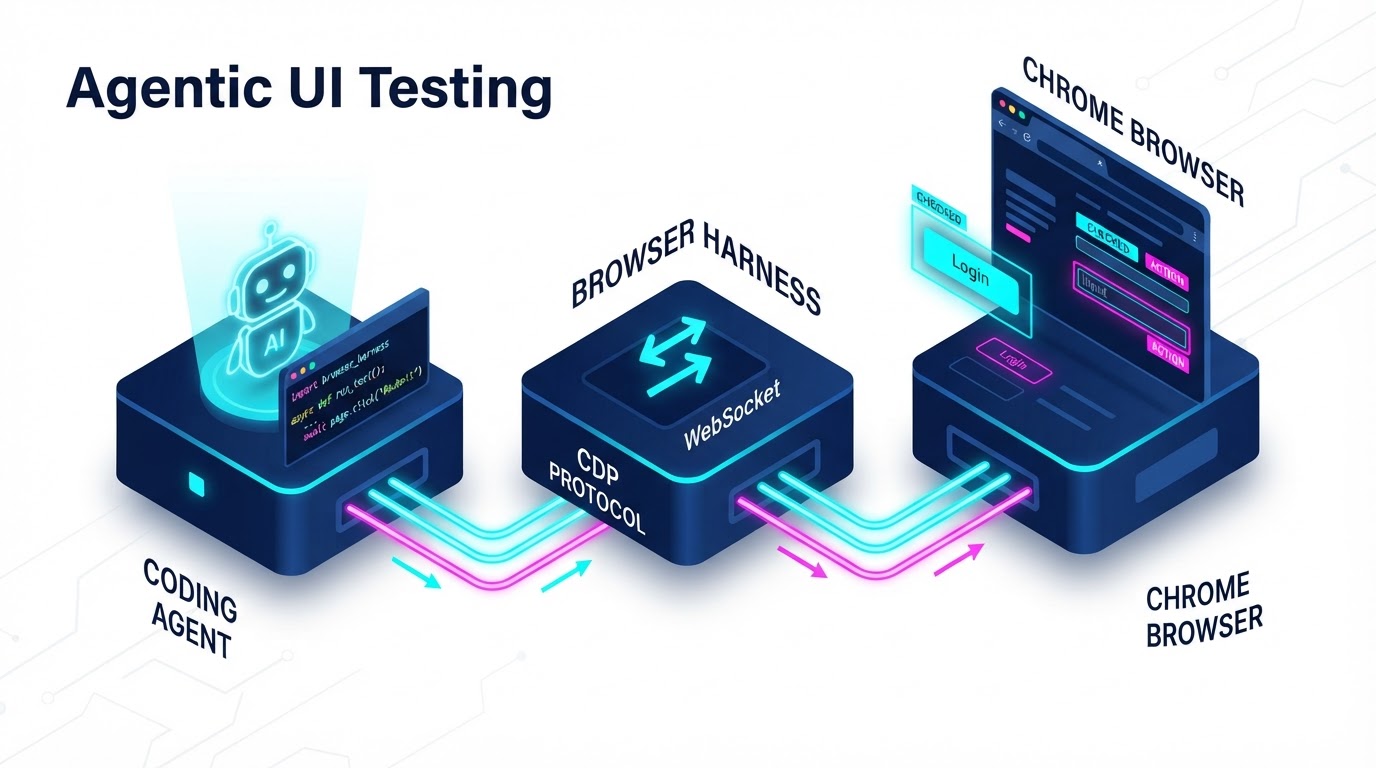
A unit test tells you the code ran. It doesn’t tell you the modal is clipped, the toast never showed up, or the button sits under a sticky header. For that you need something looking at the screen.
This is the setup I use to let a coding agent do that looking: Claude Code driving your real Chrome through browser-harness, checking what a person would see, and reporting back with proof. Installing is quick. The harder part is learning what to tell the agent, so most of this post is about that.
What you’re building
An agent that opens your running app (a dev server, a Storybook, a staging site), clicks through a flow, and answers one question per check: did the thing a user should see actually appear?
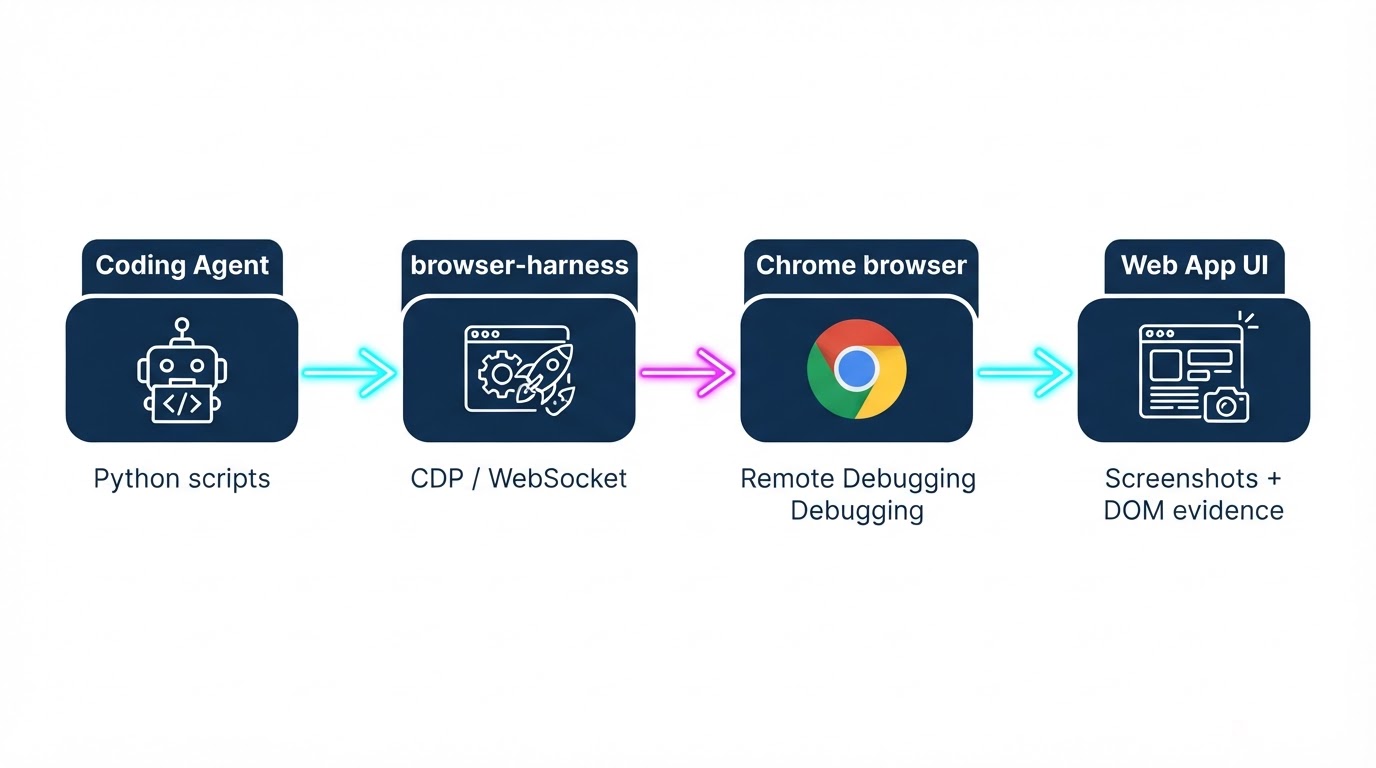
browser-harness is the piece that lets it touch the browser. It gives the agent direct Chrome DevTools Protocol control over one editable websocket. Screenshot, click at a coordinate, read the DOM. No Selenium grid, no selector files to maintain.
Why not Chrome DevTools MCP or Claude in Chrome?
Fair question. Both are good, and which one wins depends on what you need to see and how much of the plumbing you want to own.
Chrome DevTools MCP is built on Puppeteer and leans toward debugging: performance traces, network requests, console messages with source-mapped stack traces. Chasing a slow page or a failing request is its home turf. By default it starts its own browser. It can connect to one that’s already running, but that’s the advanced path, and a freshly launched browser has none of your logins. Its README is upfront that it exposes the browser instance’s content to the MCP client.
Claude in Chrome is the easiest to start with. Install the extension, run claude --chrome, and Claude works in your signed-in browser with per-site permissions. The footprint is the catch. It needs the extension, a direct Anthropic plan (Pro, Max, Team or Enterprise) and a /login session. API-key auth and providers like Bedrock don’t qualify. A JavaScript dialog blocks it until you dismiss one by hand, and the extension’s service worker can go idle mid-session and drop the connection.
browser-harness has no extension and no plan requirement. You get one websocket of raw CDP that any agent able to run a shell command can use (the repo’s own setup prompt names Claude Code and Codex). When a helper is missing, the agent writes it. Clicks go in by coordinate, so iframes, shadow DOM and cross-origin content aren’t special cases. And it attaches to the Chrome you already have open.
What you pay: you tick the remote-debugging toggle yourself, the Allow popup comes back on every new connection, and that single shared connection is why parallel agents collide. Sections 4 and 5 are about living with it.
So: browser-harness when you want UI checks that aren’t tied to one vendor’s agent and a plain layer you can extend. DevTools MCP for performance work. Claude in Chrome when you want the least setup and you’re on a supported plan.
1. Install it
You need uv. Then:
uv tool install --python 3.12 --upgrade --force browser-harnessThe --python 3.12 keeps uv from grabbing an old release, and --upgrade --force replaces whatever you had before.
Now teach your agent about it. browser-harness skill prints the skill body, and you register that as a skill named browser-harness in your agent’s skills directory. For Claude Code that’s a folder under ~/.claude/skills/:
mkdir -p ~/.claude/skills/browser-harness
browser-harness skill > ~/.claude/skills/browser-harness/SKILL.md
Check the first lines of that file afterwards. If your agent doesn’t pick the skill up, the frontmatter is the first place to look.
The install doc suggests this trigger line for the skill, and I’d keep it verbatim: “Always use browser-harness for any web interaction: automation, scraping, testing, or site/app work.” If an old browser or browser-use skill is still lying around, delete that directory by hand. Otherwise the agent may reach for the stale one.
2. Connect it to Chrome
This is the step people get stuck on, so slow down for it.
- Open Chrome and go to
chrome://inspect/#remote-debugging. - Tick Allow remote debugging for this browser instance.
- Run a smoke test:
browser-harness <<'PY'
print(page_info())
PY
First connection, Chrome will show an “Allow remote debugging?” popup. Click Allow. You’ll see it again on every new connection, not just the first, and that’s normal.
On macOS you might get permission-blocked. Run browser-harness mac-approve and wait for ready. That one is a different permission entirely (Accessibility, for whichever app launched the CLI: Terminal, iTerm, your IDE) and it doesn’t replace clicking Allow in the browser.
If anything’s off, browser-harness --doctor tells you which part failed. chrome running failing means Chrome is closed. daemon alive failing means the debugging permission is missing or the endpoint isn’t reachable.
One thing to know before you go further: this attaches to the Chrome you’re already using. Real tabs, real logins. That’s the whole appeal, and it’s also why the rules in section 4 matter.
3. Your first check, by hand
Every command is Python fed through a heredoc, and the helpers are already imported. Here’s a check that opens a page, finds a button by its accessible name, clicks it, and reads back what happened:
browser-harness <<'PY'
new_tab("http://localhost:3000/settings")
wait_for_load()
print(page_info())

# find the button through the accessibility tree
nodes = cdp("Accessibility.getFullAXTree")["nodes"]
hits = [n for n in nodes
        if n.get("role", {}).get("value") == "button"
        and "Save" in n.get("name", {}).get("value", "")]
node_id = hits[0]["backendDOMNodeId"]

# box center -> viewport coordinates
q = cdp("DOM.getBoxModel", backendNodeId=node_id)["model"]["content"]
x, y = sum(q[0::2]) / 4, sum(q[1::2]) / 4

click_at_xy(x, y)
wait(0.5)

print(js("document.querySelector('[data-testid=toast]')?.textContent"))
capture_screenshot("/tmp/after-save.png")
PY
The URL, button label and test id are mine. Swap in yours.
A few choices in there are deliberate. The accessibility tree comes first, screenshots second: the skill’s default is to find things through the tree and only take a screenshot when layout or imagery is the point. Clicks go in by coordinate because CDP mouse events pass through iframes, shadow DOM and cross-origin content that a selector-based click chokes on. And the last two lines are the check itself. One reads the DOM, one saves what a person would see.
If a coordinate comes back negative or off-screen, scroll first. If the AX tree doesn’t contain your element (a canvas, some custom widget), fall back to js(...) against the raw DOM.
For typing, fill_input(selector, text) uses real key events and fires input and change, so it behaves with React and Vue. type_text(text) is faster but skips framework key listeners, which is exactly why it sometimes does nothing on a controlled input.
4. Make it agentic
Running scripts by hand is just a worse Playwright. The point is handing the agent a brief and letting it write those scripts itself.
The brief is what decides whether you get useful results. I give every check four things:
- Where: the exact URL, and which component or screen.
- What to do: the steps, in plain language.
- What pass looks like: something observable. “The toast says ‘Saved’” beats “it works.”
- What evidence to return: a screenshot path and the DOM value it read.
Something like:
Check the Settings page at http://localhost:3000/settings.
Change the display name to "Test User" and click Save.
PASS if a toast with text "Saved" appears and the header shows "Test User".
Return: PASS or FAIL, the component you tested, the toast text you read,
and a screenshot saved to /tmp/settings-check.png.
Then give the agent standing rules, in your CLAUDE.md or wherever your agent reads instructions:
- Open one tab with
new_tab(), then reuse it for every navigation in the task. - Only close tabs this task opened. Never close anything else.
- Call
wait_for_load()after every navigation. - At a login wall, stop and ask. If Chrome is already signed in and SSO takes over, fine. Passwords, MFA and consent screens are yours to handle, not the agent’s.
- Use
browser-harnessfor all UI testing. Don’t switch to a second automation tool halfway through.
The one-tab rule is not style. Tabs pile up faster than you’d think, and on your real browser a careless cleanup closes your other tabs.
5. Run subagents one at a time
Claude Code’s Agent tool will happily dispatch five verification agents at once. Don’t, not against one browser. They share a single tab and a single connection, and they’ll trample each other’s state.
Tell the main agent to run browser-touching subagents sequentially: one finishes and releases the tab, then the next starts. Slower on paper, and in practice it’s the difference between five clean results and five weird ones.
6. Check the report, especially a FAIL
Make the agent show its work. A bare “FAIL: thumbnail didn’t render” tells you almost nothing. “FAIL on the ProfileCard component, read background-image: none, screenshot attached” gives you something to check in thirty seconds.
And do check it. A subagent once reported a failing thumbnail preview, completely plausible, and when I re-ran it by hand it had tested a hero banner instead of the component I meant. Different element, different rendering path. The report was an honest description of the wrong thing. That’s why the brief names the component and why the return format asks the agent to say which one it tested.
When it breaks
Start with browser-harness --doctor. Then, in this order:
- One tab acting dead (timeouts,
Connection lostin the daemon log): callensure_real_tab(). If that doesn’t clear it, close that one tab by its target id and open a fresh one withnew_tab(). - Everything unresponsive: count your tabs. Close the ones your task opened, using the ids
new_tab()returned. - Still stuck: restart the daemon, and expect to click the Allow popup again.
- Last resort: relaunch Chrome.
Never run a blanket “close everything but one.” It was written for a throwaway automation browser. On your real one it’s destructive.
Custom helpers
If the agent needs something browser-harness doesn’t ship, it can write the helper into agent-workspace/agent_helpers.py and keep using it. Worth knowing when you hit a widget the built-ins handle badly.
Local state
Auth, logs, screenshots and sockets live under ~/.config/browser-harness by default. Set BH_HOME if you want them elsewhere. Handy to know when you’re hunting for a screenshot the agent said it saved.
References & Sources
- browser-harness on GitHub: source,
install.md, andSKILL.md - Install:
uv tool install --python 3.12 --upgrade --force browser-harness, thenbrowser-harness skillfor the skill body. Troubleshooting:browser-harness --doctor - Chrome DevTools MCP on GitHub: capabilities, connection options and privacy notes
- Use Claude Code with Chrome: prerequisites, permissions and known limitations of Claude in Chrome
- Chrome DevTools Protocol documentation: reference for
Accessibility.getFullAXTree,DOM.getBoxModel, and theTargetdomain